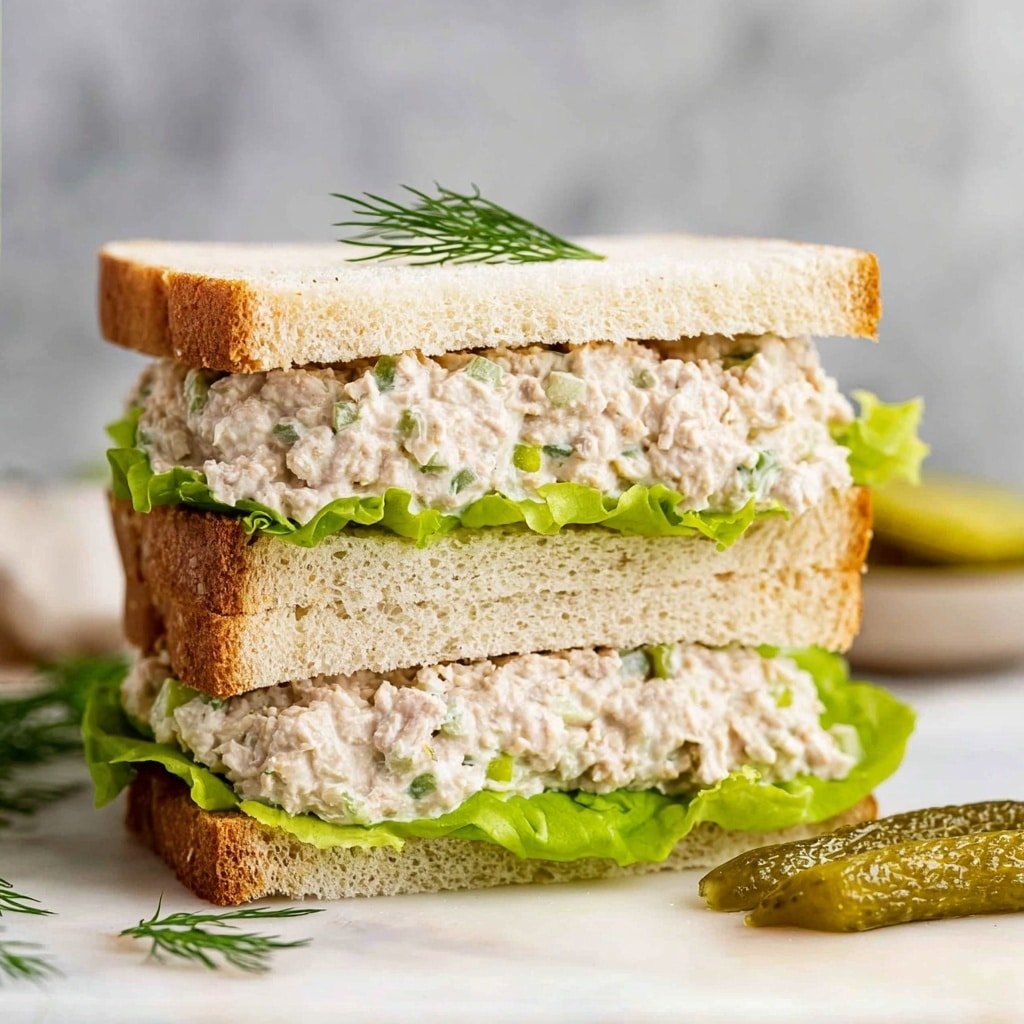
There’s something wonderfully nostalgic about the Classic Tuna Sandwich with Dill Pickle, Celery, and Herbs Recipe that always brings me right back to cozy afternoons at home. I remember making this sandwich for impromptu picnics or a quick lunch that never failed to impress friends or family. The first time I served it to guests, their surprise at the punch of tangy dill pickle juice combined with the fresh herbs made me realize this was more than just a simple tuna sandwich—it was a flavor-packed experience wrapped in soft bread.
Why This Recipe Shines
- Flavor Harmony: The blend of tart dill pickle juice, savory tuna packed in oil, and fresh herbs creates a perfectly balanced bite.
- Easy Assembly: No fancy techniques—just a quick mix, spread on bread, and you’re good to go.
- Texture Play: Crunchy celery and tangy pickle bits add delightful contrast to smooth tuna and mayo.
- Showstopper Finish: A hint of Dijon mustard and fresh dill lifts this sandwich beyond the ordinary lunch.
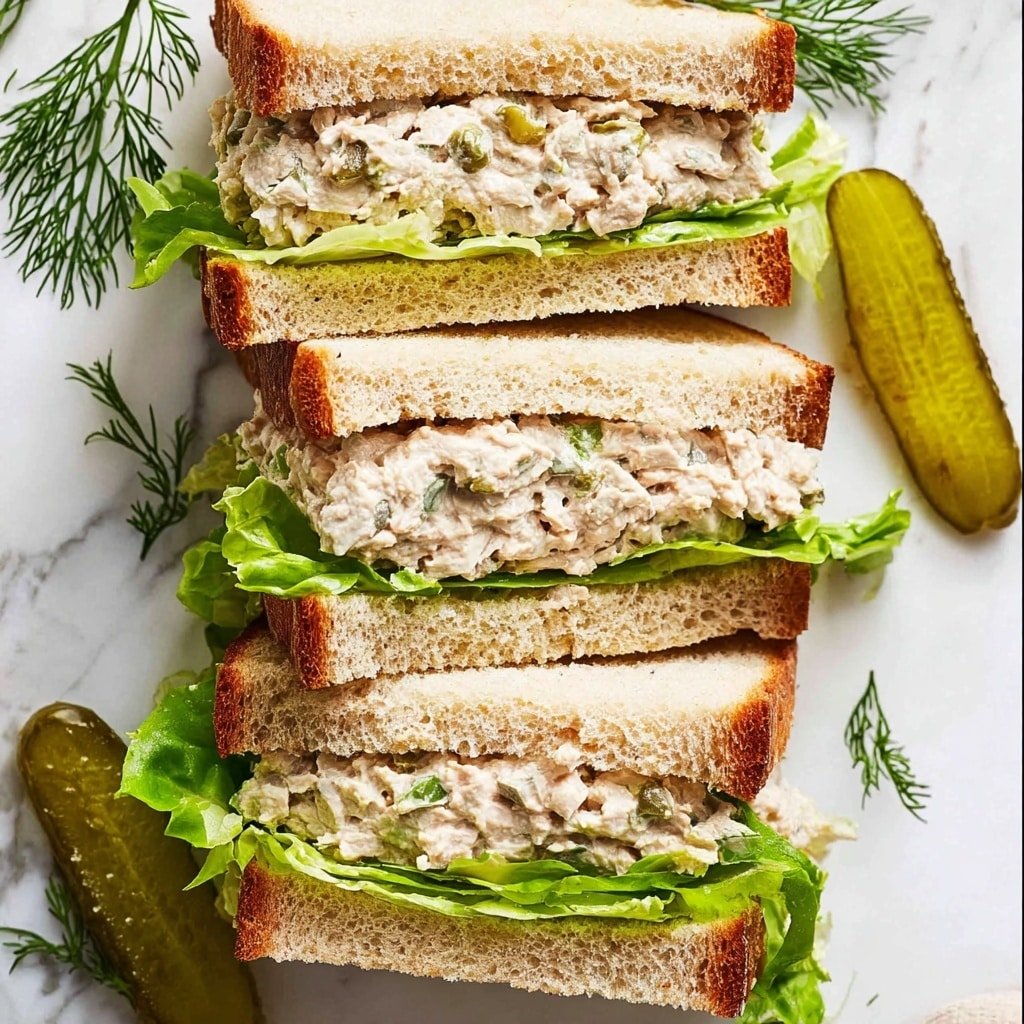
This Classic Tuna Sandwich with Dill Pickle, Celery, and Herbs Recipe truly stands out because it’s not just tuna slapped on bread. The aroma of fresh dill mingles with that subtle mustard bite and the lush creaminess of whole egg mayonnaise. The colors pop with green onion and celery flecks, making it as fun to look at as it is satisfying to eat. Whether you’re after a quick work lunch or feeding a small crowd, this sandwich fits the bill with its fresh, vibrant layers.
If you’re feeling a little cautious about making it for the first time, don’t worry—you’ll find this recipe incredibly approachable. I’ll walk you through each step so you get your textures just right and the flavor perfectly balanced. Plus, I’ve added plenty of tips to help you avoid common pitfalls, so that when you bite into your sandwich, you’ll know you nailed it on your very first try.
Ingredients You’ll Be Working With
When measuring ingredients, I like to keep things simple and use level spoons or cups to keep the balance just right. Don’t worry, the exact amounts with clear measurements are all neatly lined up in the printable recipe card at the bottom. Here’s a quick look at what you’ll need and why each component matters:
- Canned tuna in oil: Adds rich, flavorful protein; the oil keeps the tuna moist (you can use tuna in water, but oil-packed gives a tastier result).
- Whole egg mayonnaise or Kewpie: Brings creamy smoothness with a milder, less vinegary flavor than regular mayo.
- Celery: Offers crisp crunch and freshness to brighten up the sandwich.
- Dill pickle: Provides that signature tang and subtle sweetness; classic dill pickles are best for this recipe.
- Pickle juice: Boosts the pickle flavor and adds a wonderful zing to the filling.
- Dijon mustard: Gives a gentle spicy depth that lifts the whole mixture.
- Fresh dill (or parsley or basil): Adds herbal brightness and complexity.
- Green onion: Enhances freshness with a mild bite—swap with shallots or finely diced red onion if needed.
- Black pepper: Just enough spice to complement flavors without overpowering.
- Butter lettuce: Crisp leaves add texture and prevent sogginess.
- Butter (for bread): A thin layer helps keep the bread from getting soggy and adds richness.
- Bread or rolls: Choose your favorite—classic white sandwich bread works beautifully for that nostalgic feel.
Feel free to customize by swapping fresh herbs or using different bread types to suit your mood. The tuna filling itself is quite forgiving, so small substitutions won’t throw off the balance.
Chef’s Note
You’ll find the complete list of ingredients with exact measurements in the printable recipe card at the bottom of this post.
Tools You’ll Need
- Mixing bowl: Large enough to combine ingredients easily without spills.
- Wooden spoon or spatula: Perfect for folding tuna gently and blending mix-ins.
- Sharp knife: For finely dicing celery, pickles, and slicing green onion.
- Measuring cups and spoons: To keep your seasoning and mix ratios accurate.
- Bread knife: To slice rolls if using, for neat sandwich assembly.
How to Make Classic Tuna Sandwich with Dill Pickle, Celery, and Herbs Recipe
Ready to assemble? This recipe is delightfully simple and fast once you get chopping. Here’s how to bring all those ingredients together into a luscious sandwich filling and put it on your bread.
- Prep the filling: Drain the tuna well, then place it in your mixing bowl. Add the mayonnaise, finely diced celery, chopped dill pickles, pickle juice, Dijon mustard, chopped fresh dill, sliced green onion, and black pepper. Use a wooden spoon to mix everything gently but thoroughly, breaking up the tuna chunks so the filling becomes fairly smooth with little bits of celery and pickle distributed throughout.
- Build your sandwich: Butter each slice of bread lightly—this important step helps keep the bread from getting soggy. Lay two leaves of butter lettuce on one side of the bread, then spoon a generous amount of the tuna filling over the lettuce. Top with the second slice of bread, butter side down.
- Serving tip: You can cut sandwiches in halves or quarters if desired. If using rolls, slice them open and fill generously with the mixture and lettuce.
- Enjoy: Dive in immediately for the best texture and freshest flavor combo.
Kitchen Wisdom
- Tip 1: Drain tuna well but save a little oil if you want extra richness—add a small teaspoon to your mix.
- Tip 2: If your filling gets watery over time, stir it before assembling or serving to redistribute moisture.
- Tip 3: Butter the bread right before assembling to keep it from becoming soggy.
- Tip 4: Experiment with fresh herbs—dill is classic, but parsley or basil bring new flavor dimensions.
How to Serve
Flavor Boosters
To amp up the Classic Tuna Sandwich with Dill Pickle, Celery, and Herbs Recipe, consider adding a dash of hot sauce if you like a little kick. A thin layer of ripe avocado slices or a sprinkle of capers can add creaminess or briny sharpness. Fresh tomato slices bring juiciness, while a drizzle of extra virgin olive oil adds a subtle fruity depth.
Perfect Pairings
This sandwich pairs beautifully with crisp side salads like arugula with lemon vinaigrette, kettle-cooked chips for crunch, or a bowl of light vegetable soup. For drinks, a cold iced tea, a crisp white wine, or even a sparkling water with lime complements the fresh and tangy flavors flawlessly.
Presentation Touches
Slice sandwiches diagonally for a classic deli look and serve on a vibrant plate to make those greens stand out. If you’re hosting a picnic or lunch gathering, wrap sandwiches individually in parchment paper tied with twine for a charming touch. For gift-giving, pack the filling separately in a jar with a label and a loaf of fresh bread for a thoughtful homemade lunch kit.
Variations & Easy Swaps
- Dairy-free: Use a vegan mayo alternative to keep the creaminess without dairy.
- Herb swaps: Use parsley or fresh basil if you prefer something different than dill.
- Spice it up: Add a pinch of smoked paprika or cayenne for depth and warmth.
- Crunch factor: Swap celery for finely diced cucumber or jicama for a different texture.
- Protein alternative: Try canned salmon or canned chicken using the same mix-ins for an easy twist.
- Bread choice: Whole wheat, sourdough, or even wraps can give your sandwich a new personality.
Make-Ahead, Storage & Reheating
- Make-ahead filling: Prepare the tuna mixture up to 3 days ahead and store in an airtight container in the fridge. Stir well before serving.
- Assembled sandwiches: Best eaten fresh. If needed, wrap with lettuce inside to protect bread and spread butter liberally to resist sogginess.
- Reheating: Sandwiches with tuna filling aren’t usually reheated. If you must, remove filling and warm bread separately, then reassemble.
FAQs
- Can I use tuna in water instead of oil? Absolutely! The recipe works with tuna in water, but oil-packed tuna adds richer flavor and moist texture.
- What kind of pickles should I use? Standard dill pickles work best for that classic tangy flavor—avoid sweet or spicy varieties for this sandwich.
- Can I make this sandwich vegan? You can swap tuna for mashed chickpeas or jackfruit and use vegan mayo—though it won’t be exactly the same, it’s a tasty alternative.
- How long will the filling keep? The tuna filling stays good in the fridge for up to 3 days, but always stir before serving as it may separate.
- Is it okay to freeze the filling? I don’t recommend freezing tuna sandwich filling because the texture and flavor can degrade.
Classic Tuna Sandwich with Dill Pickle, Celery, and Herbs Recipe

A classic and flavorful tuna sandwich recipe using tuna in oil for richness, enhanced with tangy pickle juice, crunchy celery, dill, and fresh green onion, spread on buttered bread with crisp lettuce. Perfect for a hearty lunch that serves 4 to 6 people.
- Prep Time: 10 minutes
- Cook Time: 0 minutes
- Total Time: 10 minutes
- Yield: 4 to 6 sandwiches
- Category: Sandwich
- Method: No-Cook
- Cuisine: Western
Ingredients
Tuna Sandwich Filling
- 425g / 15 oz canned tuna in oil, drained
- 3/4 cup whole egg mayonnaise or Kewpie mayo
- 3/4 cup finely diced celery (1 stalk, cut lengthwise into 4, then diced)
- 5 tbsp finely chopped dill pickle
- 2 tbsp liquid from pickle jar
- 2 tbsp Dijon mustard
- 3 tbsp finely chopped dill (or parsley or basil)
- 1/3 cup finely sliced green onion (~2 stems)
- 1/2 tsp black pepper
For Sandwich Assembly
- 8 pieces butter lettuce (2 per sandwich)
- Salted butter, for spreading
- 8 slices bread or 4 medium rolls
Instructions
- Prepare the Tuna Filling: In a bowl, combine the drained tuna, whole egg mayonnaise, diced celery, chopped dill pickles, pickle juice, Dijon mustard, chopped dill, sliced green onion, and black pepper. Using a wooden spoon, mix well while breaking up the tuna into small pieces and slightly mashing the pickles and celery to meld the flavors together for a smooth, flavorful filling.
- Assemble the Sandwiches: Butter each slice of bread lightly. Place two pieces of butter lettuce on the buttered bread to act as a moisture barrier and add crispness. Divide the tuna filling evenly among the bread slices or rolls. Top with the second slice of bread or roll to complete each sandwich. Serve immediately for the best texture and flavor.
Notes
- Tuna in oil is recommended for a richer, tastier sandwich, but tuna in water can be used as a substitute.
- Whole-egg mayonnaise provides a smoother, balanced flavor compared to regular mayonnaise.
- Use standard dill pickles rather than sweet or spicy varieties for the appropriate tang.
- Green onions can be substituted with finely minced shallots or red onion for a different but complementary flavor.
- Any bread can be used—from white sandwich bread to artisan rolls—based on preference.
- The tuna filling keeps well in an airtight container for up to 3 days, but assembled sandwiches are best eaten fresh to avoid sogginess; using lettuce and butter on the bread helps protect against moisture.